Deploy a Site to Netlify
Make an account on Netlify
- Go to Netlify
- Click Sign Up in the upper right
- Choose "Email" sign up (unless, of course, you already have a GitHub or Bitbucket account)

- Check your email to confirm. Click the verify button
- Go back to Netlify, you should be logged in or able to log in.
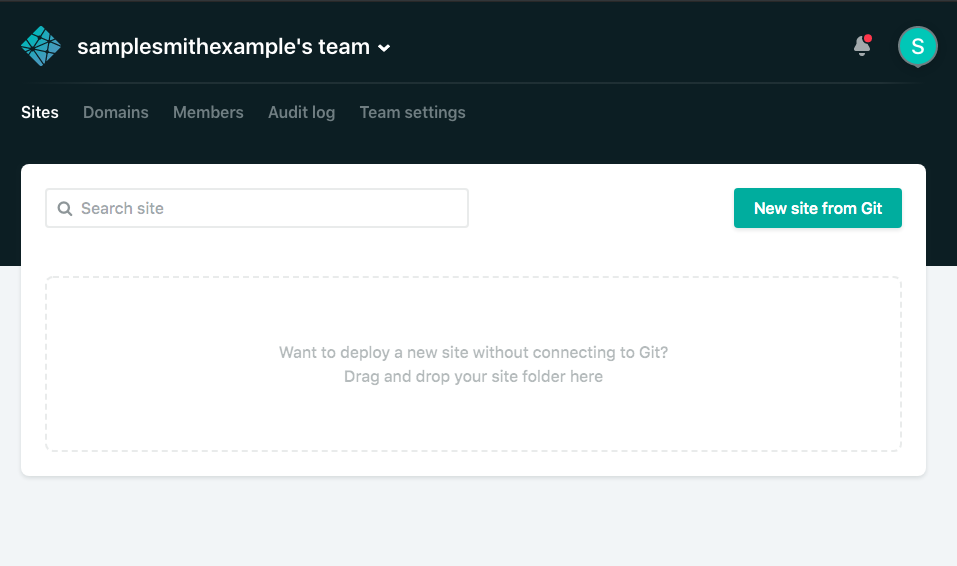
- Click through the dialogues until you see this:

Download your HTML, CSS, and JS files from codepen
- Log into your codepen account and visit the pen you'd like to deploy to Netlify
- Click "export" in the lower right
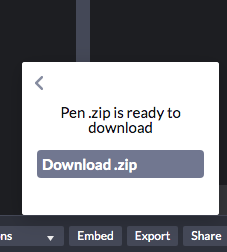
- Choose .zip
- Click download .zip

- Find the .zip file on your computer - look in the Downloads folder
- Open it up
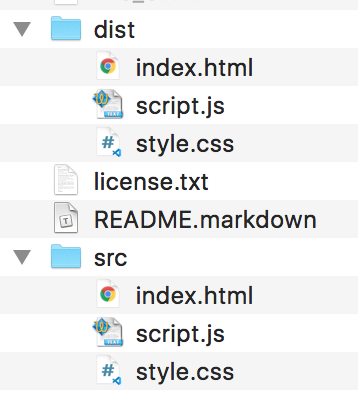
- Find the
distfolder.

Upload the files to Netlify
Drag the
distfolder over to the dropzone on netlify where it says "Want to deploy a new site without connecting to Git? Drag and drop your site folder here"Wait for it to build...and voila!
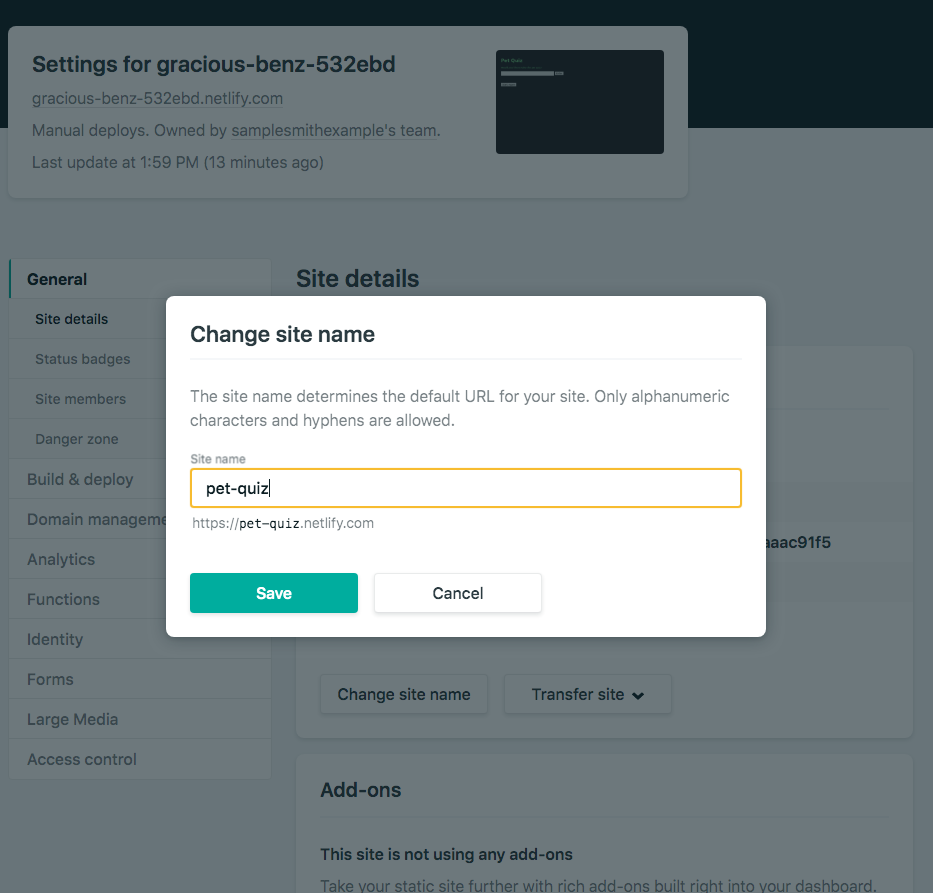
You will probably want to change the url to something that makes more sense. In Netlify, go to "Site Settings" for your site.
Click the "Change site name" button

- Now you can visit your site! Pet Quiz